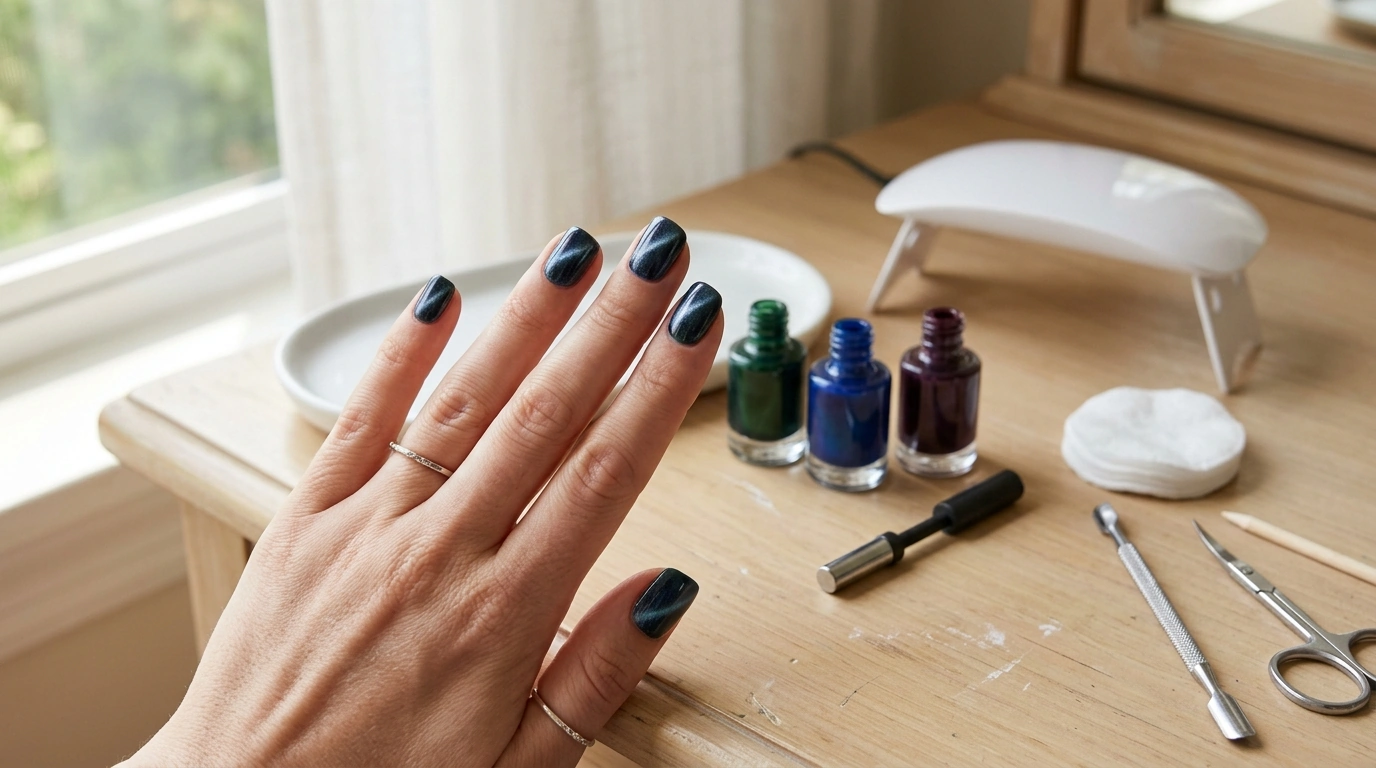
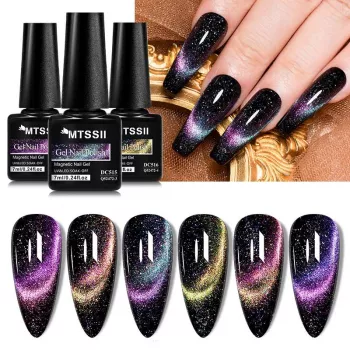
Magnetic cat eye gel creates a shifting, “velvet” stripe effect by pulling metallic particles into place with a magnet. This 3-piece set is designed for layered looks—from subtle glow to high-contrast cat-eye lines—while still curing like standard gel for wear-resistant shine. If you like nails that change as your hands move (without hand-painted art), cat eye gel is one of the fastest ways to get a dimensional, salon-style finish at home. For more guidance, see Professional Gel Polish for Perfect Nails.
Unlike standard shimmer gel that stays evenly dispersed, cat eye gel contains magnetic pigments that respond to a magnet while the layer is still wet. When you hover a magnet near the surface, the metallic particles gather into a concentrated highlight that appears to “move” as light hits it from different angles. For further reading, see Magnetic Gel Nail Polish Set Gel Polish | gelpolish.org.
A 3-piece set is ideal for rotating tones across a full manicure, creating accent nails, or layering shades for extra depth. The key is treating the magnetic layer like a “design step” that happens right before curing—shape the shimmer first, then lock it in under the lamp.
To shop the featured set, see 3PCS Magnetic Cat Eye Gel Nail Polish Set.
| Item | Role in the look | Notes |
|---|---|---|
| Magnetic cat eye gel (3 pcs) | Creates the shifting highlight effect | Use a magnet before curing to “lock” the pattern |
| Base coat (not included) | Improves adhesion and wear | Cure fully to prevent lifting |
| Top coat (not included) | Adds gloss and protection | Seal the free edge for longer wear |
| Magnet tool (not included) | Shapes the cat-eye line or velvet glow | Hold close (about 1–3 mm) for a stronger pull |
| UV/LED lamp (not included) | Cures gel layers | Follow lamp and gel curing times |
The biggest difference between “nice shimmer” and a sharply defined cat-eye beam is timing. Once the magnet creates the pattern you want, cure immediately so the particles don’t drift back out.
Once you’re comfortable with the basics, the magnet becomes a styling tool. Small angle changes can turn one shade into multiple looks across a set.
Cat eye gel wears like other gel systems—durable when layers are thin, fully cured, and kept off the skin. Small habits make a noticeable difference in how long the manicure stays glossy and intact.
Gel products are best used with careful skin avoidance and thorough curing. If you’re new to gel, focus on clean application around the cuticle and sidewalls before you ever turn on the lamp.
Yes—cat eye gel is still gel polish and must be cured in a UV/LED lamp. Shape the magnetic pattern first, then cure immediately to set it.
This usually happens when the gel layer is too thick, the magnet is too far away, the magnet is moving, or curing is delayed. Apply a thinner coat, hold the magnet very close and steady, and cure as soon as the line looks sharp.
Lightly file the top coat, then soak with acetone using cotton and foil wraps until the gel softens. Gently push off the softened product and finish with cuticle oil—avoid forceful scraping.










Leave a comment